Making homemade baby food can be simple and quick. You’ll know exactly what’s in each bite — no preservatives, no mystery ingredients, just fresh foods prepared in minutes.
Homemade baby food starts with cooking age-appropriate foods until soft, then blending or mashing to the right texture, and storing small portions safely. Start with single-ingredient purees, add variety over time, and follow basic food-safety steps so meals stay fresh.
Key takeaways
- Start solids when your baby shows readiness signs, often around 6 months.
- Steam or cook foods until very soft, then blend or mash to the right texture.
- Freeze in small portions so you only thaw what you need.
- Skip added salt, added sugar, and honey before 12 months.
- Introduce one new food at a time and watch for reactions.
Benefits of homemade baby food
- Ingredient control: Skip preservatives, added sugar, and extra salt.
- Budget-friendly: Buy produce in season and freeze portions.
- Fresh flavor: Rotate foods and textures as your baby grows.
- Family mealtime: Babies can try simple versions of what the rest of the family eats.
When can my baby start solids?
Most babies are ready for solid foods at around 6 months, but readiness matters more than the exact age. Look for steady head and neck control, the ability to sit with support, clear interest in food, and the ability to swallow rather than push food out with the tongue.
If your baby was born early or has any medical concerns, check with your pediatrician before starting. For more detail on the signs of readiness, see the AAP guidance on starting solids.
Essential tools for preparation
- Blender or food processor: For smooth purees. A fork works fine for soft foods like banana.
- Steamer basket: A simple way to soften foods while keeping flavor.
- Knife and cutting board: For safe, quick prep.
- Silicone ice cube tray + freezer bags: For single-serve portions.
- Airtight containers: For fridge and freezer storage.
Recommended Products

Quality Design: This baby food processor is made from premium food-grade glass bowls, 8 stainless steel blades, and BPA-free food-grade plastic (PP). Baby Food Puree Maker Make Fresh and Nutritious Meals for Your Little One, It guarantees that every meal is clean and healthy for your baby. Pay attention: please remove the blade covers before use.

【High-Efficiency Food Processing】Equipped with a high-speed smashing motor, this baby food maker can chop fresh fruits, vegetables, meat, and more into nutrient-rich purees in just 8 seconds. Its 6-layer 8-blade design ensures ultra-fine textures for easy digestion and absorption by your baby's delicate stomach. For harder ingredients like potatoes or carrots, we recommend steaming them first and adding a small amount of water to achieve smoother results.

𝐒𝐚𝐯𝐞 𝐁𝐢𝐠, 𝐁𝐥𝐞𝐧𝐝 𝐖𝐞𝐥𝐥:This HEYVALUE Baby Gift Set comes with six baby food containers, a freezer tray, two silicone spoons, one silicone spatula, and baby food recipes, eliminating the need to buy them separately. It's a must-have for newborns!
Choosing the right ingredients
Start simple and nutrient-dense
Pick ripe, unbruised produce and cook firm fruits and vegetables until they mash easily. Over time, include iron-rich foods such as meats, beans, lentils, or iron-fortified infant cereal.
Go easy on “extras”
Avoid added salt and added sugar. Skip honey until after 12 months.
Introduce allergens thoughtfully
Common allergens like egg, peanut, dairy, fish, and wheat can be introduced alongside other new foods, unless your pediatrician recommends a different plan. Offer one new food at a time and watch for any reactions over a few days.
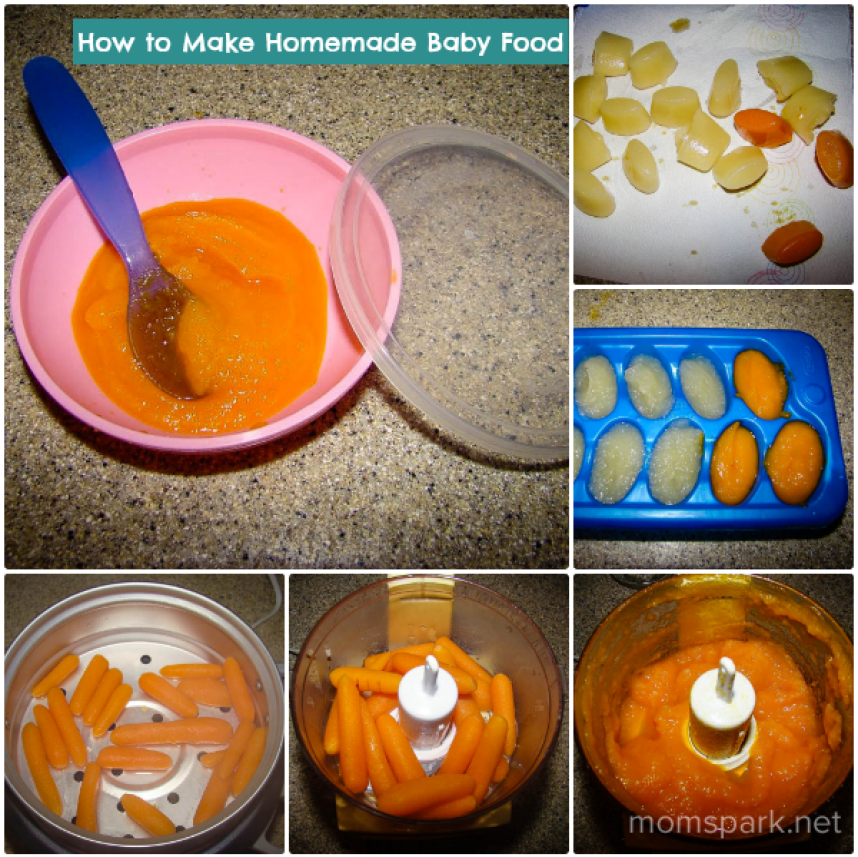
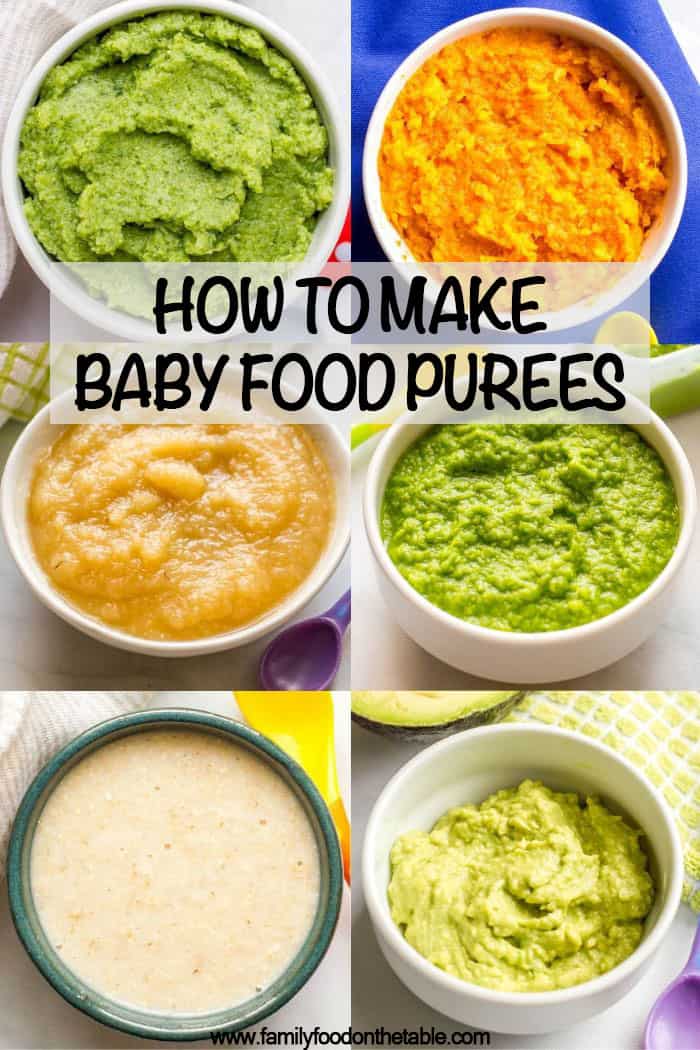
The easiest method: cook, blend, portion, store
- Wash and prep: Rinse produce, peel if needed, and remove pits, seeds, and tough skins.
- Cook until very soft: Steam, roast, or simmer until fork-tender.
- Blend or mash: Puree with a little water, breast milk, or formula to reach the texture your baby can handle.
- Cool quickly: Let food cool before storing.
- Portion and store: Refrigerate what you’ll use soon. Freeze the rest in small portions.
Recommended Products

SILICONE BABY BREASTMILK POPSICLE MOLD FOR QUICK & EASY BATCH PREP: This Baby food freezer tray with Lid 2 Pack with 10 perfectly sized holes,Ideal for prepare baby food, purees, breastmilk, and other baby foods into consistent portions, helping you plan meals efficiently and convenient.

Effortless Meal Preparation: Streamline your baby's nutrition with our 3 Pack Silicone Freezer Tray. Batch prepare baby food, purees, breastmilk, and more for efficient and convenient meal planning.

SILICONE BABY FREEZER TRAYS - Each baby food freezer tray has 10 perfectly sized holes. With this Kingkam Baby Food freezer tray you can get multiple perfect sized frozen portions for most food feeder, and you can put breastmilk, purees, juices or some baby food to freeze, then put the frozen pieces into feeder, easy to get a frozen milk popsicle for babies with sore gums
Simple recipes for beginners
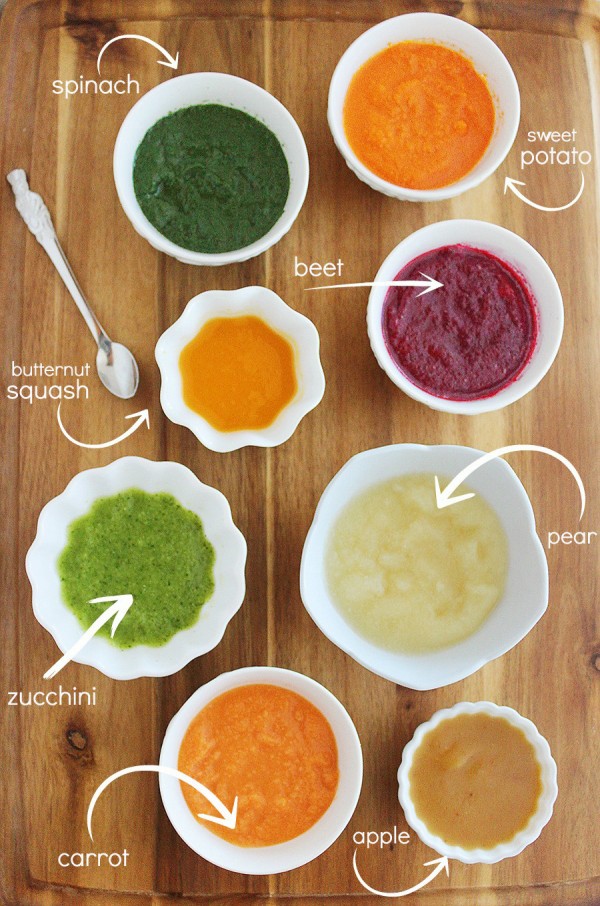
Single-ingredient purees (great first foods)
- Banana: Mash until smooth.
- Avocado: Mash and thin with water if needed.
- Sweet potato: Steam or bake, then blend with water.
- Carrot or peas: Steam until very soft, then blend.
Easy mix-and-match combos
- Apple + pear: Steam and blend for a naturally sweet puree.
- Carrot + peas: A mild, balanced veggie blend.
- Banana + avocado: Creamy texture with healthy fats.
Start with smooth textures and slowly move toward thicker, lumpier foods as your baby’s skills improve.
Texture progression: what comes after purees
Smooth purees are just the starting point. As your baby gets more comfortable eating, you can gradually increase texture.
Around 7 to 8 months, try thicker mashes and soft lumps. By 9 to 10 months, most babies can handle finely minced or chopped foods. Around 12 months, many are ready for soft finger foods cut into small pieces.
Every baby moves at their own pace. The goal is to keep textures slightly challenging without causing frustration. If your baby gags often or seems uncomfortable, ease back to a smoother texture for a week or two before trying again.
Storage and reheating tips
Recommended Products

12-Pack, Durable 4oz Glass Jars with Lids – KeaBabies Baby Food Jars Glass check all the right boxes for a reliable baby snack containers. Ideal for busy parents as baby food containers for prepping and storing homemade meals smoothly.

Premium Baby Food Storage Containers: The set has 8 food storage containers, 4 oz each. 8 colors, 1 of each color. There are many colors for easy differentiation of use and a large number to meet the daily needs of baby use. A pen can be used to write the name, date or other information on the lid to remind you what is inside the jar. Perfect for storing homemade baby food, solid baby food, fruit and vegetable purees, jams, etc
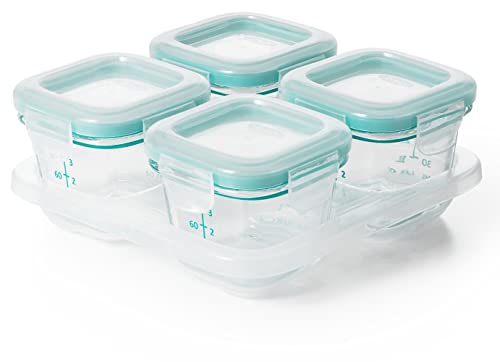
Great for portioning, storing, freezing, heating and serving baby food at home or on the go
Storage
- Refrigerator: Store in airtight containers and use within 1 to 2 days.
- Freezer: Freeze in ice cube trays, then move the cubes to freezer-safe bags. For best quality, use within about 1 to 3 months.
Thawing and reheating
- Thaw overnight in the refrigerator when possible.
- Warm gently on the stovetop or in the microwave. Stir well and test the temperature before serving.
- Do not refreeze thawed food.
- Discard food that has been in contact with your baby’s saliva.
Common mistakes to avoid
- Skipping washing and clean tools: Babies are more sensitive to foodborne germs.
- Using added salt or sugar: Keep flavors simple at first.
- Wrong texture for your baby’s stage: Start smooth and increase texture gradually.
- Batching without safe storage: Cool, portion, label, and freeze promptly.
- Forgetting variety: Rotate fruits, vegetables, proteins, and iron-rich foods.
FAQs
What is the 3-day rule for baby food?
A common approach is to wait 3 to 5 days between new single-ingredient foods so you can spot possible reactions. If your baby has eczema, known allergies, or you have other concerns, ask your pediatrician for a plan that fits your child.
Is it better to steam or boil food for babies?
Steaming often keeps more nutrients and flavor because vitamins don’t leach into cooking water. Boiling works too. Just use a small amount of water, cook only until tender, and use some of the cooking liquid when blending.
How long does homemade baby food last?
In the fridge, use most homemade purees within 1 to 2 days. In the freezer, most purees hold their best quality for about 1 to 3 months when stored airtight and labeled.
What homemade baby food should I introduce first?
Start with single-ingredient, soft foods like mashed banana or avocado, or steamed and blended sweet potato, carrot, or peas. Offer one food at a time and repeat favorites so your baby gets used to new flavors and textures.
Can I reheat baby food in the microwave?
Yes. Heat in short bursts, stir well to prevent hot spots, and test the temperature with a clean spoon before feeding. Only heat what you plan to serve and discard any leftovers from the bowl.
Why should babies avoid honey?
Honey can contain spores that may cause infant botulism, a rare but serious illness. To reduce risk, do not give honey or foods made with honey to babies under 12 months.
Conclusion
Homemade baby food doesn’t have to be complicated. Start with a few single-ingredient purees, keep portions small, and use safe storage habits. Over time, you’ll build a freezer stash of quick meals and help your baby enjoy a wide range of flavors.